There’s nothing more stressful than spending hours in line at passport control after an eight, nine, or even ten-hour flight.
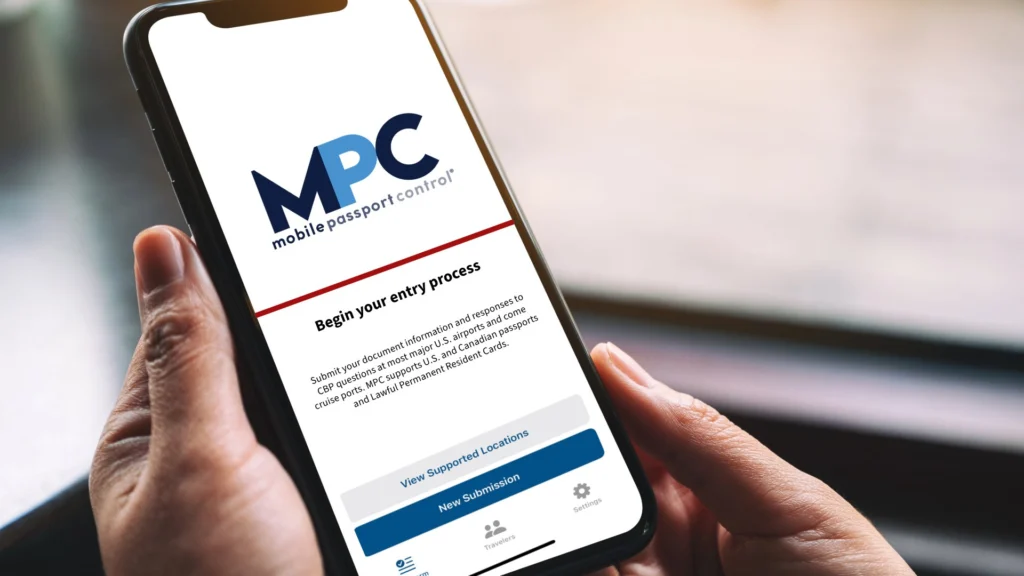
In recent months, Mobile Passport Control has been introduced and is rapidly expanding—a fast-track system that significantly speeds up customs procedures when entering the United States.
In this article, I’ll explain:
- what it is
- who can use it
- which airports have adopted it
- how it works, step by step
But that’s not all!
I’ll personally test the system to see if it really works and how much time it actually saves.
Oh, and one more thing—Mobile Passport Control is completely FREE!
What is Mobile Passport Control?

I’m not making this up—I’m taking the definition straight from the official U.S. Customs and Border Protection website:
Mobile Passport Control (MPC) allows eligible travelers to submit their travel documents, photo, and customs declaration
information through a free and secure app on their smartphone or other mobile device.
Using MPC streamlines the traveler’s entry process into the United States, reducing passport inspection time and overall
wait times.
MPC does not require pre-approval.
Travelers who correctly use the MPC app no longer need to fill out a paper form and may receive a designated queue.
As a result, travelers may experience shorter wait times, less congestion, and more efficient processing.
Who can use Mobile Passport Control?

Currently, the following travelers are eligible to use Mobile Passport Control:
- U.S. citizens
- U.S. lawful permanent residents
- Canadian citizens with a B1/B2 visa
- Visa Waiver Program (ESTA) re-entry applicants (ESTA program)
In other words ⤵️
You can use Mobile Passport Control only if you are traveling to the United States for the second time or more with the
same passport, even if using a new ESTA.
If you are traveling to the U.S. for the first time, or you are returning with a new passport, YOU CANNOT use Mobile Passport Control.
Which airports have adopted Mobile Passport Control?
The list of airports using Mobile Passport Control is
constantly being updated, but I can tell you that most major international airports frequently used by Italian
travelers already support it.
I recommend checking the full list directly in the MPC app or on the official U.S. Customs and Border Protection
website.
How does Mobile Passport Control work?

Mobile Passport Control is essentially a free app for smartphones, available for download from the Apple Store and
Google Play.
The procedure is divided into two phases:
- The first before your departure
- The second upon arrival at your destination
For the second phase, an internet connection is required.
If you need unlimited internet in the United States, CLICK HERE to purchase a discounted plan.
Before I explain each step of the first phase, you must:
- Have a valid passport
- Have an approved ESTA
- Know the arrival terminal of your flight
While the first two points are straightforward, knowing your exact arrival terminal in advance isn’t always so simple.
Many international airports have multiple terminals—for example, Miami has three different terminals.
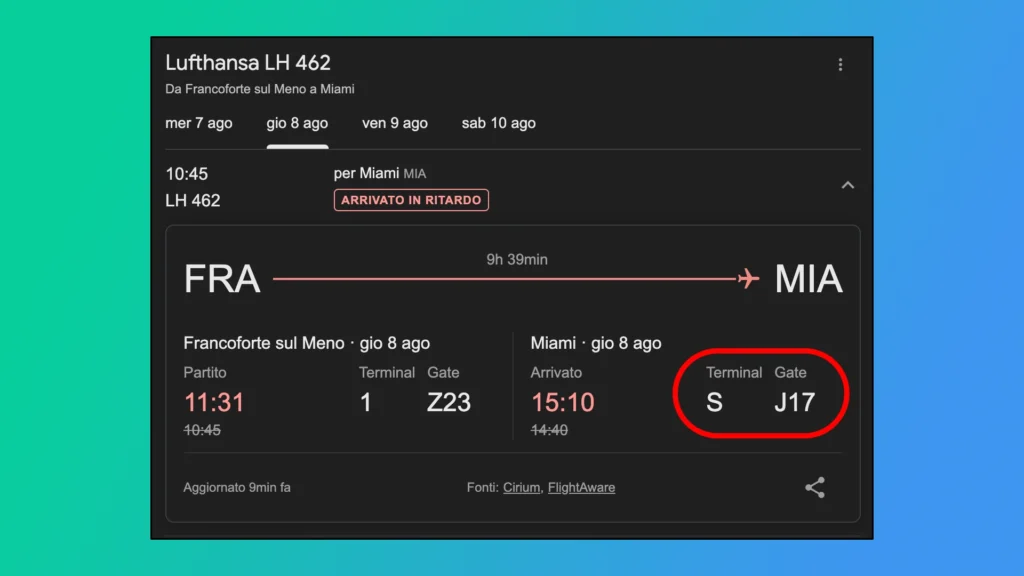
My advice is to do a quick Google search, type your flight number in the search bar, and hit enter. Check where the same
flight landed on previous days.
It’s very likely—though not 100% certain—that your flight will follow the same route.
For example, my flight departs from Frankfurt to Miami with flight code LH462. Google shows that it landed at Terminal
S, Gate J17.

First phase:
- Install the app
- Open the app
- Click “New Submission”
- Click “Airplane”
- Select your arrival airport
- Select the terminal
- Click “Proceed”
- Click “Select Travelers”
- Click “Create a New Traveler”
- Click “Visa Waiver Program Passport”
- Click “Proceed”
- Complete the “First Name, Last Name” fields
- Check the box “Save this traveler” (useful for future trips)
- Click “Save”
- Click “Done”
- Click “Proceed”
- Scroll down and click “Agree”
- Answer the questionnaire
- For “Purpose of Travel”, select WT (Waiver Tourist) if visiting as a tourist
- Click “Proceed”
- Check the box at the bottom of the page
- Click “Save CBP Form”
- Close the app WITHOUT clicking “Yes, submit now”
Second phase:
- Upon arrival, open the app
- Click “CBP Form”
- Click “Yes, submit now”
- Take a photo as instructed
- The app will generate a QR code
- Head to the dedicated Mobile Passport Control queue
- Present your QR code and passport to the CBP officer
Does Mobile Passport Control really work?
Yes! Using Mobile Passport Control allowed me, on my last group
trip to Florida, to clear customs in just a few minutes.
I highly recommend using this method for your next trip to the U.S., but remember—you can ONLY use it if you meet the
eligibility criteria explained in this article.


